Get started on your local machine
Although it takes a little longer to get started, building Packs on your local machine has some advantages over the the web-based editor:
- You can use your own code editing tools, such as Visual Studio Code.
- You can use your own version control system, such as GitHub.
- You can use popular JavaScript libraries1, such as those in NPM.
Local development is enabled through the coda command line tool (CLI). Keep reading to learn how to install the CLI and use it to build a Pack.
Before you get started
To create a Pack you will need a Coda account, with Doc Maker access in your workspace. If you're new to Coda, sign up for a free account and you'll automatically be made a Doc Maker in your personal workspace.
Make sure you have node and npm available on your machine. These two tools often come bundled together, and more information on how to install them is available in the npm docs.
The instructions below assume some familiarity with the terminal / command prompt. If you aren't used to using this interface consult the help material for your operating system.
Set up the Pack structure
-
Create a directory for your new Pack.
mkdir my-pack cd my-pack -
Install the Pack SDK.
npm install @codahq/packs-sdkThe Pack SDK includes both the
codaCLI as well as the libraries and type definitions needed to build Packs. -
Create the file structure for your Pack.
npx coda initThe
coda initcommand creates the basic skeleton of a Pack based off of our template Pack. It's not required, but it's a fast way to get started.
Your directory should now contain the following files:
helpers.ts- A place to define helper functions used by your Pack.node_modules- The dependencies downloaded from NPM (standard for Node.js projects).pack.ts- The core Pack definition, where all of the formulas, sync tables, and other building blocks are added.package-lock.json- The versions of the dependencies downloaded from NPM (standard for Node.js projects).package.json- The project's dependencies from NPM (standard for Node.js projects).schemas.ts- A place to define the schemas (structured data types) used by your Pack.types.ts- A place to define TypeScript types for the data used by your Pack.
Add code to the Pack
Now that you've got the basic structure of a Pack it's time to add some code. In this tutorial you'll be creating a simple "Hello World" Pack with a single formula.
Replace the contents of pack.ts with the following code, which adds a "Hello" formula:
/*
Start making Packs!
Try out the hello world sample below to create your first build.
*/

// This import statement gives you access to all parts of the Coda Packs SDK.
import * as coda from "@codahq/packs-sdk";

// This line creates your new Pack.
export const pack = coda.newPack();

// Here, we add a new formula to this Pack.
pack.addFormula({
  // This is the name that will be called in the formula builder.
  // Remember, your formula name cannot have spaces in it.
  name: "Hello",
  description: "A Hello World example.",

  // If your formula requires one or more inputs, you’ll define them here.
  // Here, we're creating a string input called “name”.
  parameters: [
    coda.makeParameter({
      type: coda.ParameterType.String,
      name: "name",
      description: "The name you would like to say hello to.",
    }),
  ],

  // The resultType defines what will be returned in your Coda doc. Here, we're
  // returning a simple text string.
  resultType: coda.ValueType.String,

  // Everything inside this execute statement will happen anytime your Coda
  // formula is called in a doc. An array of all user inputs is always the 1st
  // parameter.
  execute: async function ([name], context) {
    return "Hello " + name + "!";
  },
});
Take a moment to read through the code and comments and get an understanding of how a formula is structured.
Test the Pack locally
One of the advantages of developing locally is that you can test your Pack code without having to upload it to Coda's servers. Let's test the new Hello formula you just added:
npx coda execute pack.ts Hello "world"
If everything works correctly this should output Hello world!.
Upload the Pack
So far everything you've built only exists on your local machine, and Coda has no knowledge of it. To see it working in a real doc you'll need to upload your Pack to Coda's servers.
Register an API token
The coda CLI uses the Coda API under the hood to upload your code, and likewise needs an API token to operate. Registering an API token is a one-time setup step.
-
Register an API key for Pack uploads:
npx coda register -
When prompted to create a new API token, type
yand hit enter.This will open your browser to the API token creation dialog.
-
In the Name field enter "Hello World Pack" and then click Generate API token.
-
In the Coda API tokens section, find the token you just created, and click the Copy token link.
-
Switch back to your terminal, paste your token into the prompt, and hit enter.
This will create a new file .coda.json in your working directory that contains the API token.
Don't check in .coda.json
If you use a version control system you will likely want to make sure this file isn't check in, as the token within provides access to your account. For example, if using Git, add .coda.json to your .gitignore file.
Create the Pack
Now that you have the access configured you can create the new Pack on Coda's servers. This setup step that needs to be done for each Pack you create.
npx coda create pack.ts --name "Hello World" --description "My first Pack."
Edit your branding later
The name and description arguments are optional and can be changed later in the Pack Studio's Listing tab, along with a variety of other branding options.
This will create a new, empty Pack on Coda's servers and output its URL in the Pack Studio. It stores the Pack's ID in the new file .coda-pack.json.
Upload the first version
Now that you've established access and created the empty Pack, you're finally ready to upload your code.
npx coda upload pack.ts --notes "Initial version."
Source code not available
If you open your Pack in the online Pack Studio code editor you'll see a message like:
// Some boilerplate when failed to load source code
This is expected, since the CLI will only upload the built Pack and not the source code.
Install and use the Pack
Your new Pack is now available to use in all your docs, and you can install it just any other Pack. Let's create a new document and install it: 1. Open Coda in your browser. 1. Click the + New doc button and select Start with a blank page.
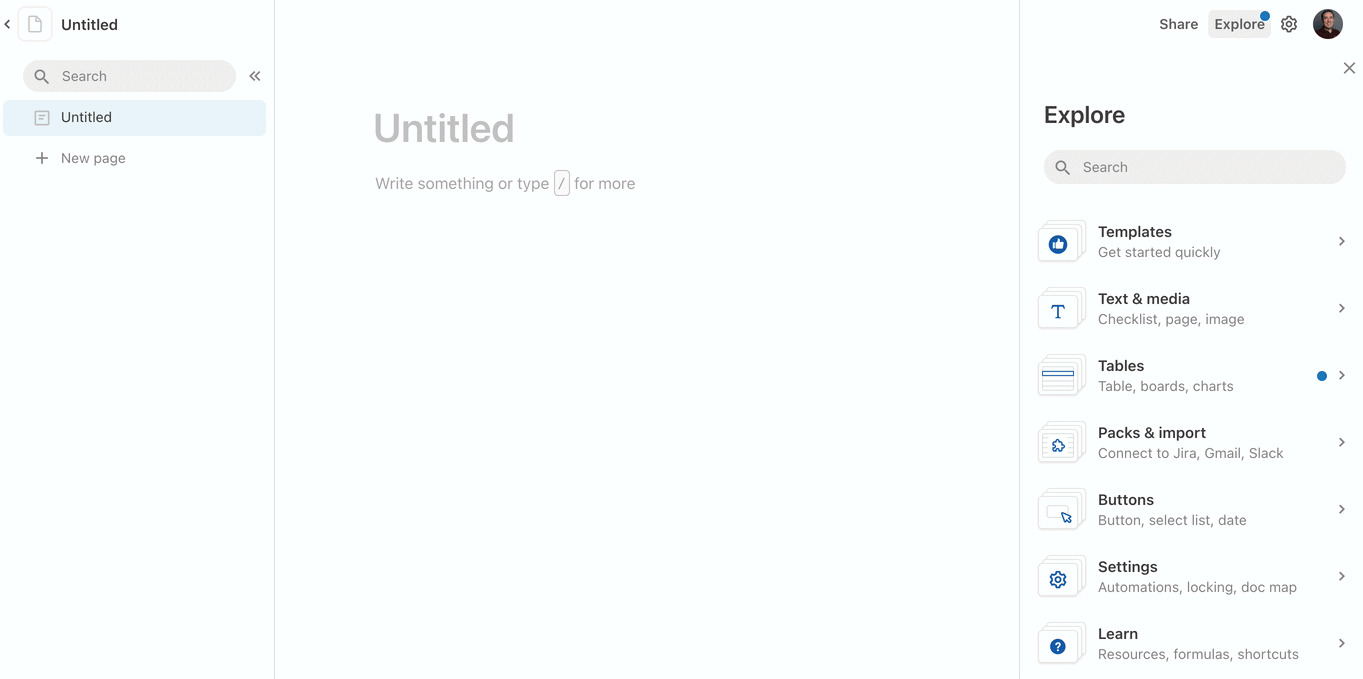
- In your doc, click Explore, then Packs & import.
-
Find your new Pack, Hello World, and click on it.
This will open a dialog with more information about the Pack.
-
Click the Install button in the upper right.
-
Drag the Hello formula from the panel on the right into your doc.
Alternative: Type the formula
Place your cursor in the doc and type
=Hello, and then press the tab key to select formula from your Pack. -
Complete the formula by passing in a name parameter, such as
Hello("World"), and hit enter.
If everything has gone right you should see the result Hello World as the output of your formula.
Tip
For a more personalized message, try changing the formula to Hello(User()).
Update the Pack
Now that you have your Pack up and running let's make a change to how it works.
-
Back in your code editor, open
pack.tsand update it to say "Howdy" instead of "Hello":execute: function ([name]) { return "Howdy " + name + "!"; }, -
Run your code locally to ensure it works:
npx coda execute pack.ts Hello "world"This should output
Howdy world!. -
Run
coda uploadagain to upload a new version.npx coda upload pack.ts --notes "Changed to Howdy." -
When the upload has completed, switch back to your test document.
You'll notice that the formula is still returning
Hello World, and that's because formulas aren't automatically recalculated when you update your Pack code. -
In the Pack's panel, click the Settings tab.
The Currently Installed version of the Pack should now read Version 1.0.1.
Re-opening the Pack's panel
If you have navigated away from the Pack's panel, click Explore, Packs & import, and then your Pack name.
-
Click the Refresh now button.
A Syncing... indicator will appear at the top of the screen while the formulas are being refreshed.
Your formula result should now be Howdy World.
Tip
To avoid having to hit the refresh button on every update, toggle on the setting Auto-Refresh When Version Changes.
-
Not all libraries available on NPM are compatible with the Pack SDK. See the Using libraries guide for more information. ↩